Browsed by
Tag: photography tips

The Most Photogenic Places to Travel According to Ian Leaf

The Most Photogenic Places to Travel According to Ian Leaf

If you are a passionate photographer like Ian Leaf, you know that the perfect photo depends on the right setting—not just the lighting and composition but also the destination. From stunning landscapes to awe-inspiring cities, plenty of places around the world offer incredible photography opportunities. Here are five of the most photogenic places to travel for photographers.

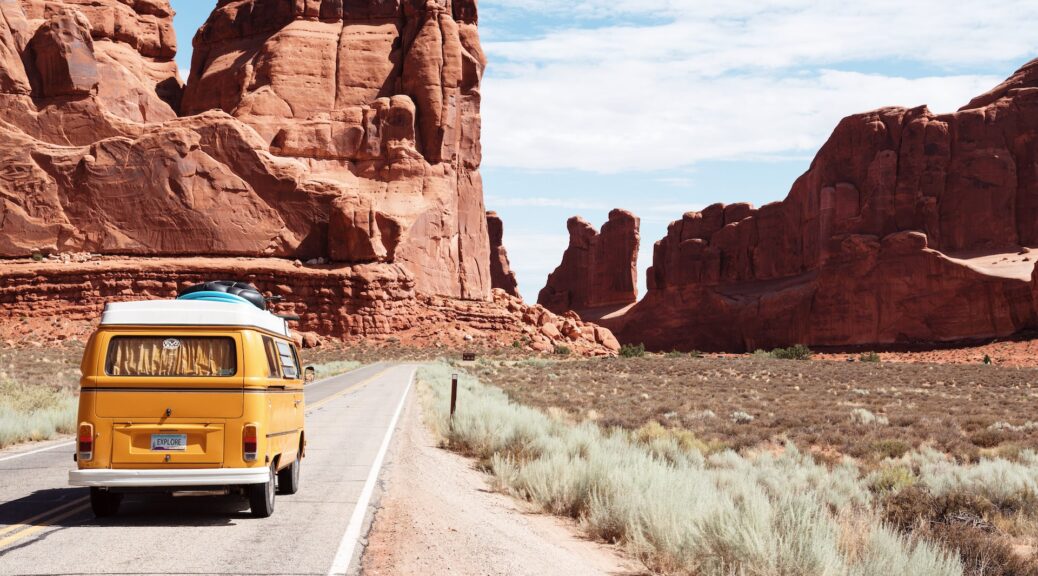
The Grand Canyon, Arizona, USA

The Grand Canyon is one of the most iconic places in all of North America, and it’s also one of the best places to take photographs. Whether you want to capture sweeping views of its vastness or zoom in on its unique formations and colorations, it is an ideal spot for photographers looking for awe-inspiring visuals. From sunrise to sunset, there is something new to discover at this geological wonder—and always something new and exciting to capture with your camera.
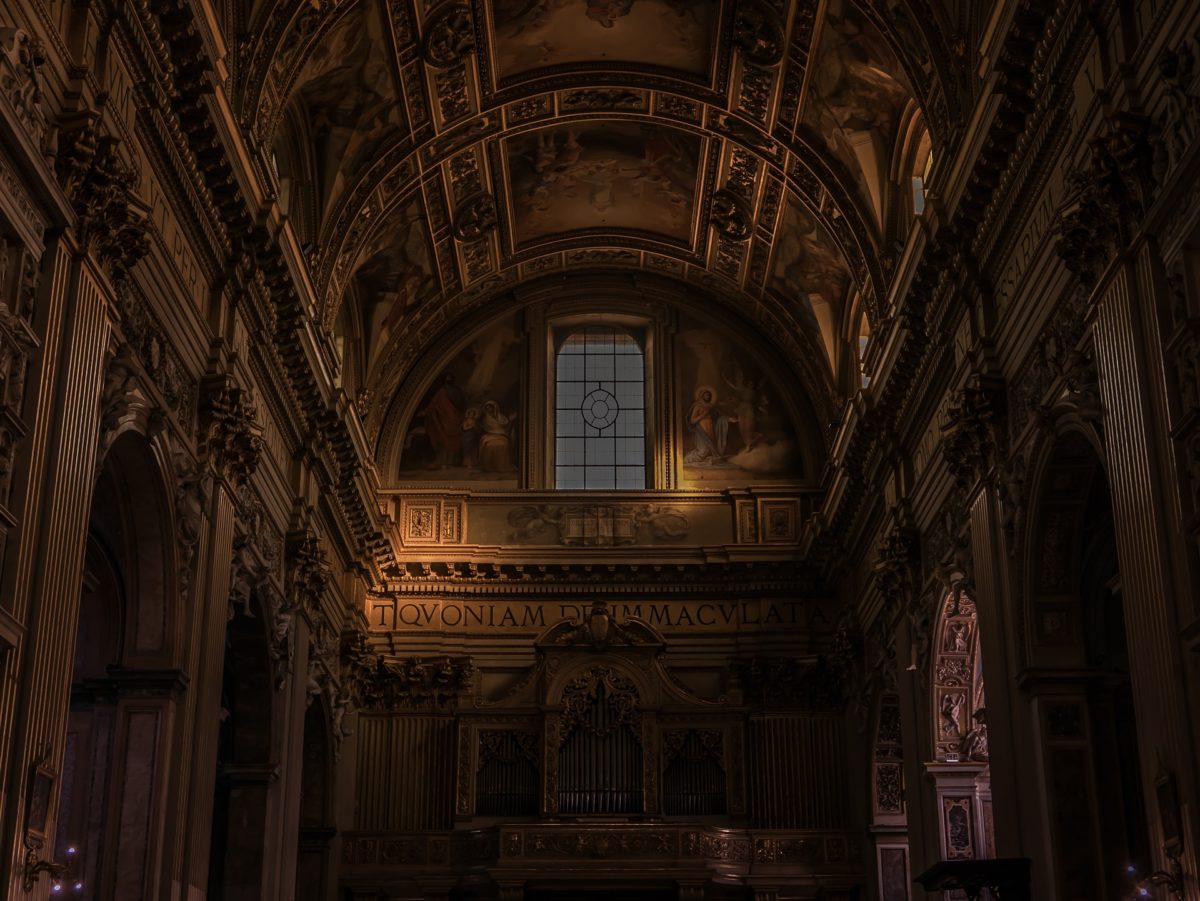
Cinque Terre, Italy

Cinque Terre is a stunning area located along Italy’s Ligurian Coast. It consists of five small towns set against rugged cliffs, clear blue waters, and picturesque vineyards – all framed by a bright Mediterranean sky. Whether looking for dramatic sunsets or postcard-perfect images during golden hour, Cinque Terre has everything you need as a photographer – plus plenty of charming restaurants and shops!

Antelope Canyon, Arizona, USA 

Antelope Canyon is considered one of nature’s greatest works of art – and one glance will tell you why! This slot canyon near Page in northern Arizona features distinctive curves and shapes carved into sandstone by water over thousands of years – creating a striking display sure to mesmerize any photographer who visits this remarkable place. You can explore Antelope Canyon on your own or book a guided tour led by knowledgeable guides trained in capturing great photos in this unique environment.                                                                                          

Petra, Jordan 

Petra is an ancient city located deep in Jordan’s desert landscape that was once inhabited by nomadic tribes thousands of years ago – and today, it remains one of the world’s most fascinating historical wonders that can be photographed from every angle imaginable! Visit this ancient site at night when its buildings are lit up under starry skies or explore during broad daylight when they glisten with sunlight – either way, you’ll be able to capture some truly spectacular photographs here! 

Machu Picchu, Peru  

Machu Picchu is known as “the lost city” since it was rediscovered only recently after centuries of being hidden away in Peru’s Andes Mountains – but now it’s available for any intrepid photographer who wants incredible shots with sweeping views across the Peruvian countryside! Take advantage of Machu Picchu’s raised terraces which allow perfect panoramas from every direction – providing ample opportunity for creative experimentation with different angles! 

How To Get The Perfect Travel Photo

Travel photography can be a tricky art to master, but with some work – you can capture travel photos that will make your friends jealous! Here are some tips and tricks for getting the perfect travel shot.

First, scout out your location. Take the time to get to know the place you’re photographing to find the best angles and capture it at its most photogenic state.

Second, choose an eye-catching subject. Whether it’s a person or an object, make sure there’s something in the frame that will draw the eye of your viewers.

Third, make sure you have the right gear. Invest in quality lenses and a good tripod to ensure your photos are as sharp and straightforward as possible.

Finally, don’t forget to experiment! Play around with different perspectives, light levels, compositions, etc., to get the most out of your shots and create something unique.

Conclusion

Ian Leaf says no matter what type of photography you specialize in or what kind of photos you want to capture on your travels—landscapes? Architecture? Adventure?—there are plenty of photogenic spots around the world that can be explored through a lens! From Arizona’s Grand Canyon and Antelope Canyon to Italy’s Cinque Terre and Jordan’s Petra— there’s something beautiful waiting for photographers everywhere! So don’t forget your camera when planning your next getaway–you never know what amazing images await discovery!

5 Everyday Photography Ideas

5 Everyday Photography Ideas

Rocco Basile, an expert photographer and a wonderful gentleman to get to know, offers you a bit of his very best advice in regards to simple, everyday ideas that you can incorporate into your photography – ones which can make a world of difference.

Five Basic Photography Ideas to Get You Started in the Right Direction – Let’s Get Those Creative Juices Flowing, Shall We?

1. Have You Considered H20?

No, seriously, water drop art is the concept here. It’s simple. It’s uniquely elegant. It offers a classy stroke and a beautiful finishing touch. Water-diluted paint does not stain fabrics or materials easily either, which is always an added benefit for a novice painter.

2. Indoor Splash Shots, Anyone?

A remote flash gun and a clear-sided container all that’s required here – as well as a creative mind, of course. Get that imagination to do the best work for you, and you can consider this project wrapped. Drop an object in water, and capture the moment with the best in shutter speed technology. Use your manual focus.

3. Art That Smokes

This one is often called smoking art, and that’s because still-life photographers love to use smoke trails for the elegant simplicity and natural beauty that they offer as those dark trails rise to the sky. Slow Capture is often a great tool for pinning these shots as is creating Photoshop-projected shapes to add to the visual appeal and make the final cut more enticing. Begin by practicing through taking numerous photos of smoke art at different angles, settings and in varied locations. Warp Transform settings are also available on many cameras to guide the final shape.

4. How About We Cross Polarize It Instead?

Polarized light is particularly useful in positively enhancing the appearance of numerous plastic objects or materials in a similar way to the Greenhouse Effect. Polarizing filters are included in most computer screens, iPhones and iPads as well, taking the work out of the process. You simply need to apply the filter and leave the device in a still position, or you may even manually time it yourself: It’s truly that simple, and there’s no hidden catch. You don’t even need to be a good capturer as the synchronization is not as big an issue here.

5. Landscapes with Food? Genius – Why Did I Never Think of That?

The best part, as well as the least considered, is this: You don’t need to use real food. The best way to engage in this form of project is to buy plastic food replicas or models and use them over and over again to your heart’s content. Fake fruits work especially well as their bright colors attract the camera’s best shots and appeal to the juicy appetite in every viewer. Dollar stores sell these at minimal cost. Shop today.

Other Reference Sources Used with Permission

(Retrieved Online on May 05, 2017)

-http://content.photojojo.com/tutorials/project-365-take-a-photo-a-day/

-http://twistedsifter.com/2014/01/creative-photos-of-everyday-objects-brock-davis/

How To Photograph A Comet

How To Photograph A Comet

Comet against a setting sun.

Taking a caption of a comet can be difficult, and requires massive professionalism as it only occurs ones in a lifetime due to their unpredictability.

With the help of the modern equipment and the latest technology, one can be able to photograph a comet. The best moment to view a comet is when it is at its largest size in the sky. Several steps are involved in the due process of taking a capture of a comet as discussed below.

First, having the best instrument is a precaution. Here, you need a modern gear that uses the latest technology. You will need the best gears like digital SLR camera coupled with custom built sixteen inches Newtonian reflector to record the sun-grazing comet’s intricate tail.

Mercury Comet’s are much easier to photograph.

Secondly, you need to choose the best location with an unobstructed view. One need to be aware of the best date, time and position of the active incoming alien comet.

The third step is taking the shot. Set your stand at an angle that is appropriately depending on your height. Configure the focus of your instruments by carrying out a twenty minutes exposure of a nearby star along the area of the caption. There is the need to enlarge the image for a wider and clear vision. With readiness, take numerous pictures of the passing comet with pictures having a maximum interval of twenty seconds. Caution should be observed as prolonged exposure will lead to the viewing of blurred images due to the earth rotation. For clear and visible results, one should take a less neat pile of shots of the comet and then process the images later.

The final step involves processing the captured images. Any poor quality captured images should be deleted from the rest apparently captured captions. Only the best shots of the comet will be left with intriguing features. Stacking software is necessary for removing the dark flames and then piling the images into a single image.

3 Tips Every Low Light Photographer Needs to Know

3 Tips Every Low Light Photographer Needs to Know

Tips Every Low Light Photographer Needs to Know

Low light photography is not something that professional photographers do at night. Low light photography can be done at different times of the day. Low light photography is set apart by one main element. Low light imagery is done when there is a low level of ambient light. Low light can come from both inside the home and outside.

The Three Levels of Low Light Photography

1) The first type is visible. The low light happens to be in shadows during the day. You can be under a tree. You can be under a bridge. It does not matter. It is left up to the person to make the most of this light.

2) The second type is low light. Low light happens during sunset. Everything around you is visible. Take a step inside. You will see places which are dark.

3) The third type is dark. This is when only the objects with the most light can be seen.

Top 3 Tips

Check all your conditions. What is visible? What is not visible? Our eyes tend to have a much broader range. Professionals who deal in photography call this range “dynamic range”. You may think you have enough light for areas full of shadow. You may not. You may have to adjust the lens. Adjust the camera for blurred imagery. Invest in VR/IS technology. Adjust your ISO settings.

Are you shooting in an area which does not have much light? Decrease your aperture. Adjust your ISO settings. Stay close to your image. Stabilize yourself. Learn how to balance your camera. Try to capture the picture in RAW. It can always be adjusted later.

During sunset be careful of autofocus. Invest in a full frame camera. Invest in a monopod or tripod. The Tripod will give you the lowest noise for your ISO settings. Tripods will bring your shutter speed down.

Use a tripod for night time. Movement counts during the night. It is best to decrease movement as much as possible. Subject too dark? Try using a flashlight. The subject will have more light. You will get a better picture. Get in the habit of using manual focus.

Your setting will need adjusting. Shooting during the day is different than night. Try the infinity setting. It may work. It may not. It all depends on what you are taking a picture of. You can go back and adjust something later. Do not move your tripod once your focus is established. If you do, it’s going to through the whole thing.

Practice Makes Perfect

Keep at it. Do not give up. It is a great time to experiment. See what works and what does not. Low light is a good time to get some amazing pictures, maybe even sell a few pictures. You will find your niche. Your technique is going to improve. Practice is the key to your success.